
SuperBox S8 Pro Initial Setup & Essential Tips
1. Initial Hardware & Screen Setup
-
Insert AAA batteries into the remote control.
-
Connect the SuperBox to your TV or monitor via HDMI and plug in the included power adapter.
-
Review the on-screen disclaimer, select Agree, and press OK on the remote.
-
Connect to your Wi-Fi network and enter your password (unless you are using a wired connection), then select Next.
-
Adjust the screen borders to 100% using the + button on the remote so the display fills the entire screen, then press OK.
2. Finding Proprietary Apps & Google Play
- Launch the dedicated SuperBox App Store under App Store and confirm the APK installation so the icon updates and displays the box’s built-in applications.
3. Recommended Post-Setup Tweaks
-
Pair via Bluetooth: Point the remote at the box, press the microphone button, and hold OK and Back simultaneously until the top LED blinks to pair it—allowing control without line-of-sight pointing.
-
Set Device Name & Time Zone: Under Settings, keep or set your device name (useful if using it as a media server), then go to Device Preferences and update your Time Zone (the default may be Los Angeles) so the Electronic Program Guide (EPG) displays accurate times.
-
Optimize Display & Privacy: Set Display and HDMI Output Mode to Automatic so it matches your screen’s resolution (such as Full HD 60Hz or 4K), and turn Wi-Fi Location detection Off under Location settings.
-
Network & VPN Advice: Isolate the TV box on a guest network or IoT network segment on your router, and consider using a VPN to keep your traffic private and help prevent ISP throttling.
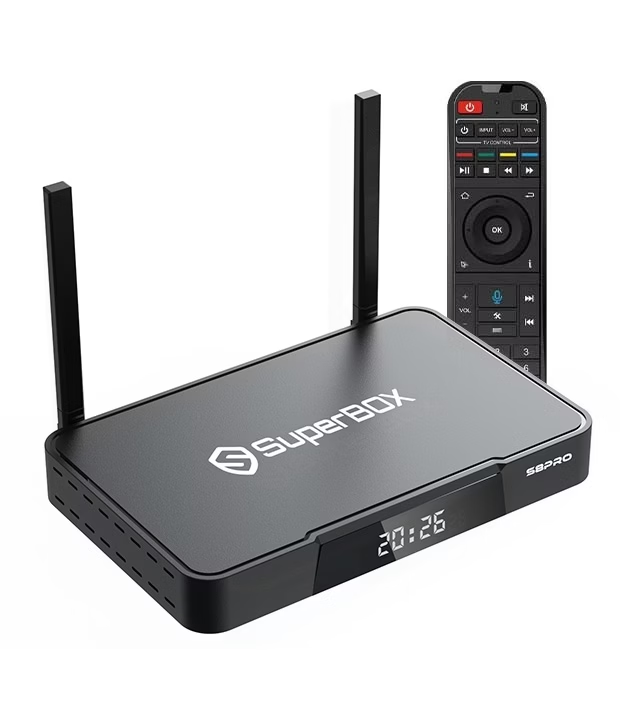
20% OFF with Coupon code TSE20 – SuperBox S8 Pro Affiliate Link


0 Comments